 how-to
How to Pour a Concrete Driveway: Step-by-Step Guide
Table of Contents
- What You'll Need Before Pouring a Concrete Driveway
- Concrete Driveway Preparation: Site Assessment and Grading
- Step 1: Set Up Formwork and Establish Drainage
- Step 2: Mix and Pour Concrete for Your Driveway
- Step 3: Finish and Control Your Concrete Surface
- Concrete Curing Time and Post-Pour Care
- Understanding Concrete Driveway Cost and Getting a Concrete Driveway Estimate
- Common Mistakes to Avoid During Concrete Pouring
- Frequently Asked Questions
Last Updated: October 11, 2026
What You'll Need Before Pouring a Concrete Driveway
Pouring a concrete driveway requires careful planning and the right materials. Most homeowners underestimate how much preparation determines whether the final result lasts 20 years or cracks within five.
You'll need basic equipment: wheelbarrow, shovel, level, measuring tape, and mixing tools. For concrete, choose ready-mix delivered by truck or bags you mix yourself. You'll also need formwork materials (2x4 lumber), rebar or wire mesh for reinforcement, and finishing tools like a trowel and broom.
According to Estimators.us concrete slab pricing guide, standard concrete slabs cost $6-$12 per square foot installed, with most residential driveways falling in that range. But material costs alone don't tell the full story.
Concrete Driveway Preparation: Site Assessment and Grading
Proper site prep is the foundation of any successful concrete pouring service for residential driveways. You can't pour good concrete on bad ground.
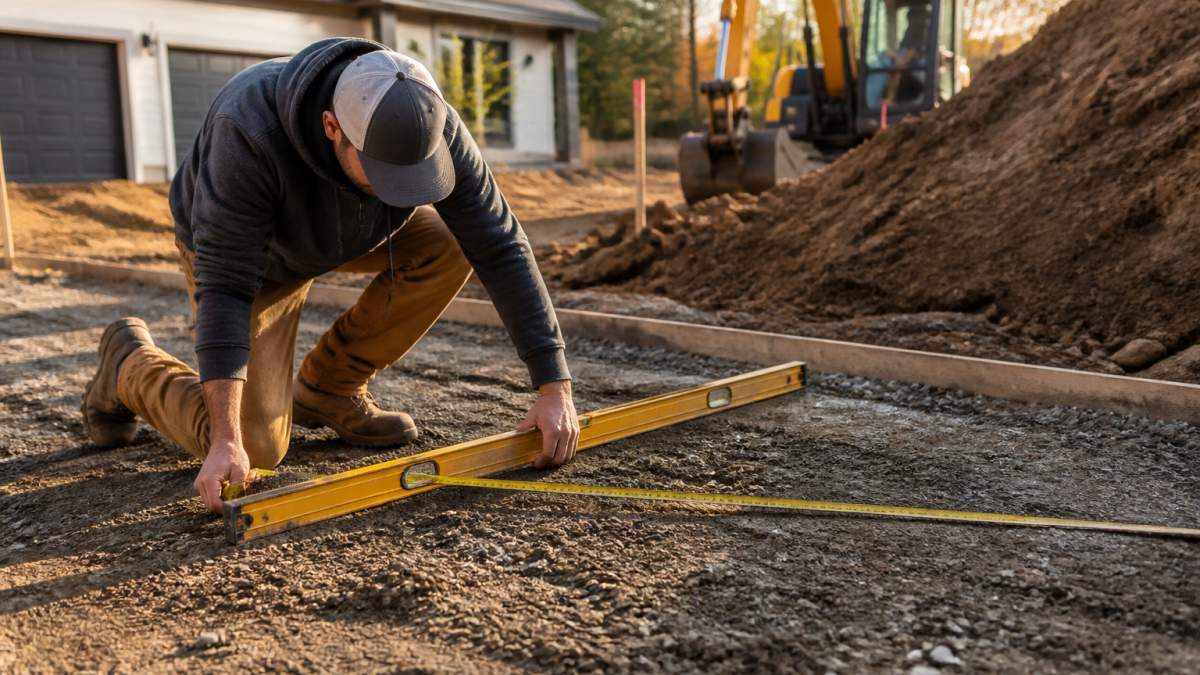
Assess your site's current condition. Look for low spots where water pools and existing vegetation or debris. Clear the area completely, organic material breaks down under concrete and creates voids.
Check the slope. Your driveway needs to slope away from your home at roughly 1/8 inch per foot to prevent water pooling against your foundation. If the natural slope is wrong, add or remove soil.
Checking for Utilities and Permits
Before you dig, call 811 or your local utility locating service. Hitting gas lines, water pipes, or electrical conduits costs thousands and creates safety hazards.
Most jurisdictions require a permit for driveway work. Permits typically cost $50-$300 and take 1-2 weeks to approve. Inspectors verify that your base preparation and concrete thickness meet code, protecting your investment.
Excavation and Base Preparation
Excavate 4-6 inches deep across your entire driveway area. Remove all topsoil and soft material down to firm, undisturbed earth. Compact this base layer using a hand tamper or mechanical compactor, poor base preparation is the #1 reason driveways crack prematurely.
Spread 4 inches of gravel or crushed stone over the compacted base. This layer provides drainage and prevents frost heave. Compact the gravel until it's firm and level.
Step 1: Set Up Formwork and Establish Drainage
Formwork is the frame that holds your concrete while it sets. Use pressure-treated 2x4 lumber, staked securely every 4 feet with 2x2 wooden stakes driven at least 12 inches into the ground.
Set your forms to the correct height and slope. For a standard driveway, aim for 4 inches of concrete thickness, sloping 1/8 inch per foot toward the street.
Establish drainage before pouring. If your driveway sits in a low area, install a perimeter drain or swale to direct water away and prevent pooling under the concrete.
Step 2: Mix and Pour Concrete for Your Driveway
This is where concrete pouring services become critical. The wrong mix or poor technique ruins the entire project.
Selecting the Right Concrete Mix and Thickness
For most residential driveways, specify 3,000-3,500 PSI concrete. According to Concrete Mix USA's driveway PSI guide, this strength handles vehicle loads and weather cycles without excessive cost.
PSI selection depends on your climate and soil type. In freeze-thaw regions, choose 3,500 PSI and consider air-entrained concrete, which contains tiny air bubbles that allow water to expand without cracking.
Standard residential driveways are 4 inches thick for typical passenger vehicles. High-traffic areas, freeze-thaw regions, or homes with heavy trucks or RVs benefit from 5 inches.
Wire mesh (6x6 inch, 10-gauge) costs $0.50-$1.00 per square foot and controls crack width. Rebar costs $1.50-$2.50 per square foot and provides superior crack control, especially in freeze-thaw climates.
Pouring and Screeding the Concrete
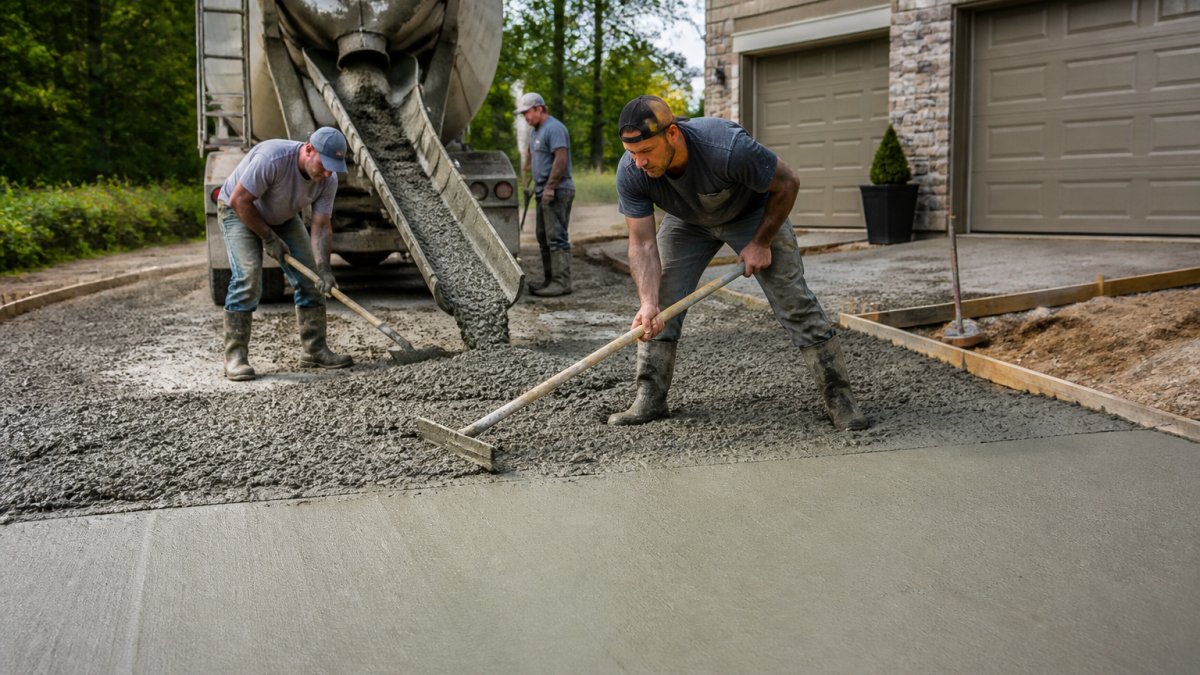
Ready-mix concrete is poured directly from a truck. For a typical driveway, expect to need 8-12 cubic yards.
Concrete begins to set within 90 minutes of mixing. Coordinate your pour carefully and pour in one continuous session to avoid cold joints (seams where one batch of concrete meets another, which are weak points).
Pour concrete starting at the far end and working toward the street. Spread the concrete evenly across the forms, slightly overfilling them. Use a shovel or concrete vibrator to eliminate air pockets.
Screeding is striking off excess concrete level with the forms using a straight 2x4 or aluminum screed board. Pull it across the forms with a sawing motion.
Step 3: Finish and Control Your Concrete Surface
A broom finish is the most common choice for driveways. It provides traction and hides minor imperfections. Drag a stiff broom across the surface once the concrete firms up (usually 2-4 hours after pouring), timing matters, as too early tears the surface and too late makes it too hard to mark.
Control joints prevent random cracking. Cut shallow grooves (1/4 inch deep) at regular intervals (typically every 4-6 feet) to direct cracks to predetermined locations.
Concrete Curing Time and Post-Pour Care
Curing is where most homeowners make costly mistakes. Concrete reaches 50% strength in 7 days but needs 28 days to reach full strength. Moisture and temperature control during this period are critical.
The Curing Timeline: What You Can Do When
Days 1-3: Initial Set and Hardening
During the first 24 hours, do not walk on the concrete, park vehicles on it, or allow children or pets to play on it.
Keep the concrete moist during this phase.
Days 4-7: Foot Traffic Permitted
After 3 days, the concrete has gained enough strength for light foot traffic.
Continue misting the concrete daily. If you covered it with plastic, remove it after 3 days but keep misting.
Days 8-28: Gradual Vehicle Access
After 7 days, the concrete has reached approximately 70% of its design strength.
After 14 days, the concrete has reached about 90% strength.
After 28 days, the concrete has reached full design strength. You can use the driveway normally, park heavy vehicles, and apply sealant if desired.
Environmental Controls During Curing
Temperature Management
Concrete cures best between 50°F and 85°F. If temperatures drop below 40°F during the first 7 days, curing slows dramatically.
If temperatures are forecast to drop below 40°F within the first week, cover the concrete with blankets, tarps, or straw to retain heat.
Moisture Control
Keep the concrete damp but not waterlogged for the first 7 days. Mist it with water twice daily or cover it with plastic sheeting.
Avoid heavy rain during the first 24 hours. If rain is forecast, cover the driveway with plastic to prevent blotching or surface weakening.
Protection from Traffic and Debris
During the first 7 days, keep the driveway clear of debris, tools, and equipment.
Sealing and Long-Term Care
After 28 days, the concrete has fully cured and is ready for sealing. Sealing protects the surface from water, salt, UV damage, and staining. Reseal every 2-3 years in harsh climates and every 3-5 years in milder climates.
Wait at least 28 days before applying sealer. Applying sealer too early traps moisture in the concrete and can cause discoloration or peeling.
Common Curing Mistakes
Driving on the driveway too early is the most common mistake. Vehicle weight can cause cracking or surface spalling. Wait the full 7 days before parking vehicles, and 28 days before heavy use.
Understanding Concrete Driveway Cost and Getting a Concrete Driveway Estimate
Concrete driveway pricing varies widely based on location, site conditions, and finish type. Understanding the cost factors helps you evaluate estimates accurately.
Factors That Affect Your Driveway Cost
According to SimplyWise concrete driveway cost guide, broom-finished concrete driveways typically cost $8-$15 per square foot. Stamped or decorative finishes run higher. A 600-square-foot driveway (typical for a two-car garage) at $10 per square foot costs $6,000 before permits and site prep.
Site conditions drive costs up or down. Difficult access for concrete trucks adds labor and may require manual pouring, increasing costs by 20-40%. Existing driveway removal and disposal add $1-$3 per square foot.
What to Expect in a Professional Estimate
A professional concrete estimate should include:
- Square footage and pricing per square foot
- Concrete type, mix strength, and thickness
- Base preparation and excavation costs
- Finishing type and any decorative options
- Timeline and payment schedule
- Warranty or guarantee terms
Get at least three estimates. Compare not just price but scope of work. The cheapest estimate often means corners are being cut.
| Cost Factor | Impact on Price | What It Means |
|---|---|---|
| Site grading and prep | +20-40% | Poor drainage or uneven ground requires extra work |
| Concrete strength (PSI) | +10-15% | Higher PSI (3,500 vs. 3,000) adds material cost |
| Decorative finish | +50-100% | Stamped or colored concrete costs significantly more |
| Existing driveway removal | +$600-$1,800 | Demolition and disposal add to project cost |
| Difficult access | +20-30% | Limited truck access means manual labor |
Common Mistakes to Avoid During Concrete Pouring
Mistakes made during pouring often can't be fixed without starting over. Here's what to avoid.
Skipping proper base preparation is the most expensive mistake. A weak or poorly compacted base leads to cracking, settling, and premature failure.
Avoid pouring in rain, extreme heat, or freezing temperatures. Rain dilutes the concrete mix. Heat causes rapid evaporation and weak curing. Cold temperatures slow curing and can cause freeze damage.
Using the wrong concrete mix or thickness saves money upfront but costs money later. Specify 3,000-3,500 PSI and 4-inch minimum thickness for residential driveways.
Rushing the finishing process creates an uneven, slippery surface. Take time to screed properly, cut control joints at the right depth, and finish the surface correctly.
Pouring a concrete driveway is achievable for homeowners with proper planning, but the technical details matter. J Curran Home Services specializes in concrete and excavation work for South Jersey homeowners, handling everything from site preparation through final finishing. Get an Estimate and let our team ensure your driveway is built to last.
Frequently Asked Questions
How long should a new concrete driveway cure before driving on it?
A concrete driveway needs at least 7 days of curing before light vehicle traffic and 28 days for full strength. During the first week, keep the surface moist and protect it from rain, extreme heat, and foot traffic. Temperature and humidity affect curing speed, cooler, wetter conditions slow the process. Avoid heavy vehicles or parking on the driveway until the full 28-day cure is complete to prevent cracking or surface damage.
How thick should a residential concrete driveway be?
Most residential driveways require 4 to 6 inches of concrete thickness. Standard recommendations are 4 inches for light-duty residential use and 5 to 6 inches for areas with heavier vehicles or freeze-thaw cycles. The concrete mix strength for residential driveways typically ranges from 3,000 to 3,500 PSI. Proper thickness, combined with a solid base and reinforcement, ensures durability and prevents cracking over time.
What should a concrete driveway estimate include?
A complete concrete driveway estimate should detail site preparation costs, excavation and grading, base material, concrete mix specifications (PSI and thickness), labor for pouring and finishing, reinforcement (rebar or wire mesh), drainage solutions, permits, and timeline. It should also specify the finish type (broom finish, stamped, or decorative) and any additional work like control joints or sealing. Request a detailed breakdown so you understand what each line item covers and can compare quotes accurately.
What is the best time of year to pour concrete?
Spring and fall offer ideal conditions for concrete pouring, temperatures between 50°F and 85°F ensure proper curing without rapid moisture loss or freezing. Avoid pouring in extreme heat, which can cause the concrete to cure too quickly and crack, or in cold weather below 50°F, which slows curing and weakens the final product. Rain shortly after pouring can damage the surface, so check the forecast. If you must pour in less-than-ideal conditions, a professional contractor can adjust mix designs and curing methods to compensate.